Smart Bird Feeder Part 2 - How can I automatically identify bird species from an image? - Using Tensorflow and a webcam to spot birds

In the previous entry in this series I built a smart bird feeder that could weigh birds with the goal of figuring out how heavy a particularly portly looking robin was. This only got my part of the way to my goal of once and for all answering the question: is this an abnormally huge robin?
The next step is to collect pictures of birds that visit my bird feeder and automatically label them with the species to check to see if the image is of a Robin or not, this will let me track just the weights of Robins so I can easily spot any abnormally heavy birds.
The below guide will talk you through step by step everything you need to do to take a picture of a bird using a cheap webcam and a Raspberry Pi and then using an image classifier model to identify the bird species.
What is an image classifier model?
Why do we need an image classifier model at all? Our bird feeder can now weigh visiting birds, but weight alone doesn't tell us the species: a 60g bird could be an enormous robin or a tiny pigeon. An image classifier model can analyze a photo from our webcam and automatically identify the bird species so we can track weights by species.
The model works by analyzing the mathematical patterns in the image data that distinguish one bird species from another. Rather than training our own model (which would require thousands of labeled bird photos), we'll use a pre-trained model that already knows how to several British bird and non-bird species including:
- squirrel
- crow
- wren
- pigeon
- cat
- house sparrow
- magpie
- blackbird
- dunnock
- chaffinch
- song thrush
- robin
Hardware Setup
If you tried setting up your own bird feeder from the first part of this series you'll have everything you need already apart from the camera, if not you can get everything you need from the list below.
Hardware shopping list
- Raspberry Pi 3 (£35) - or any similarly capable computer with soldered headers for GPIO, you can pick Raspberry Pi 3s now for as little as £10 second hand. *Note: Raspberry Pi 3s won't be able to run the classifier model without appropriate cooling, I chose to run the model on my laptop instead but you should consider alternatives to the Pi 3 if you want to run the model on device).
- Micro SD Card (£10) - These get cheaper all the time, here I've linked to a 128GB card that's relatively good value but really anything over 16GB will be fine as long as you can write to it properly, for more information on picking an appropriate SD card see this great article by Chris Dzombak.
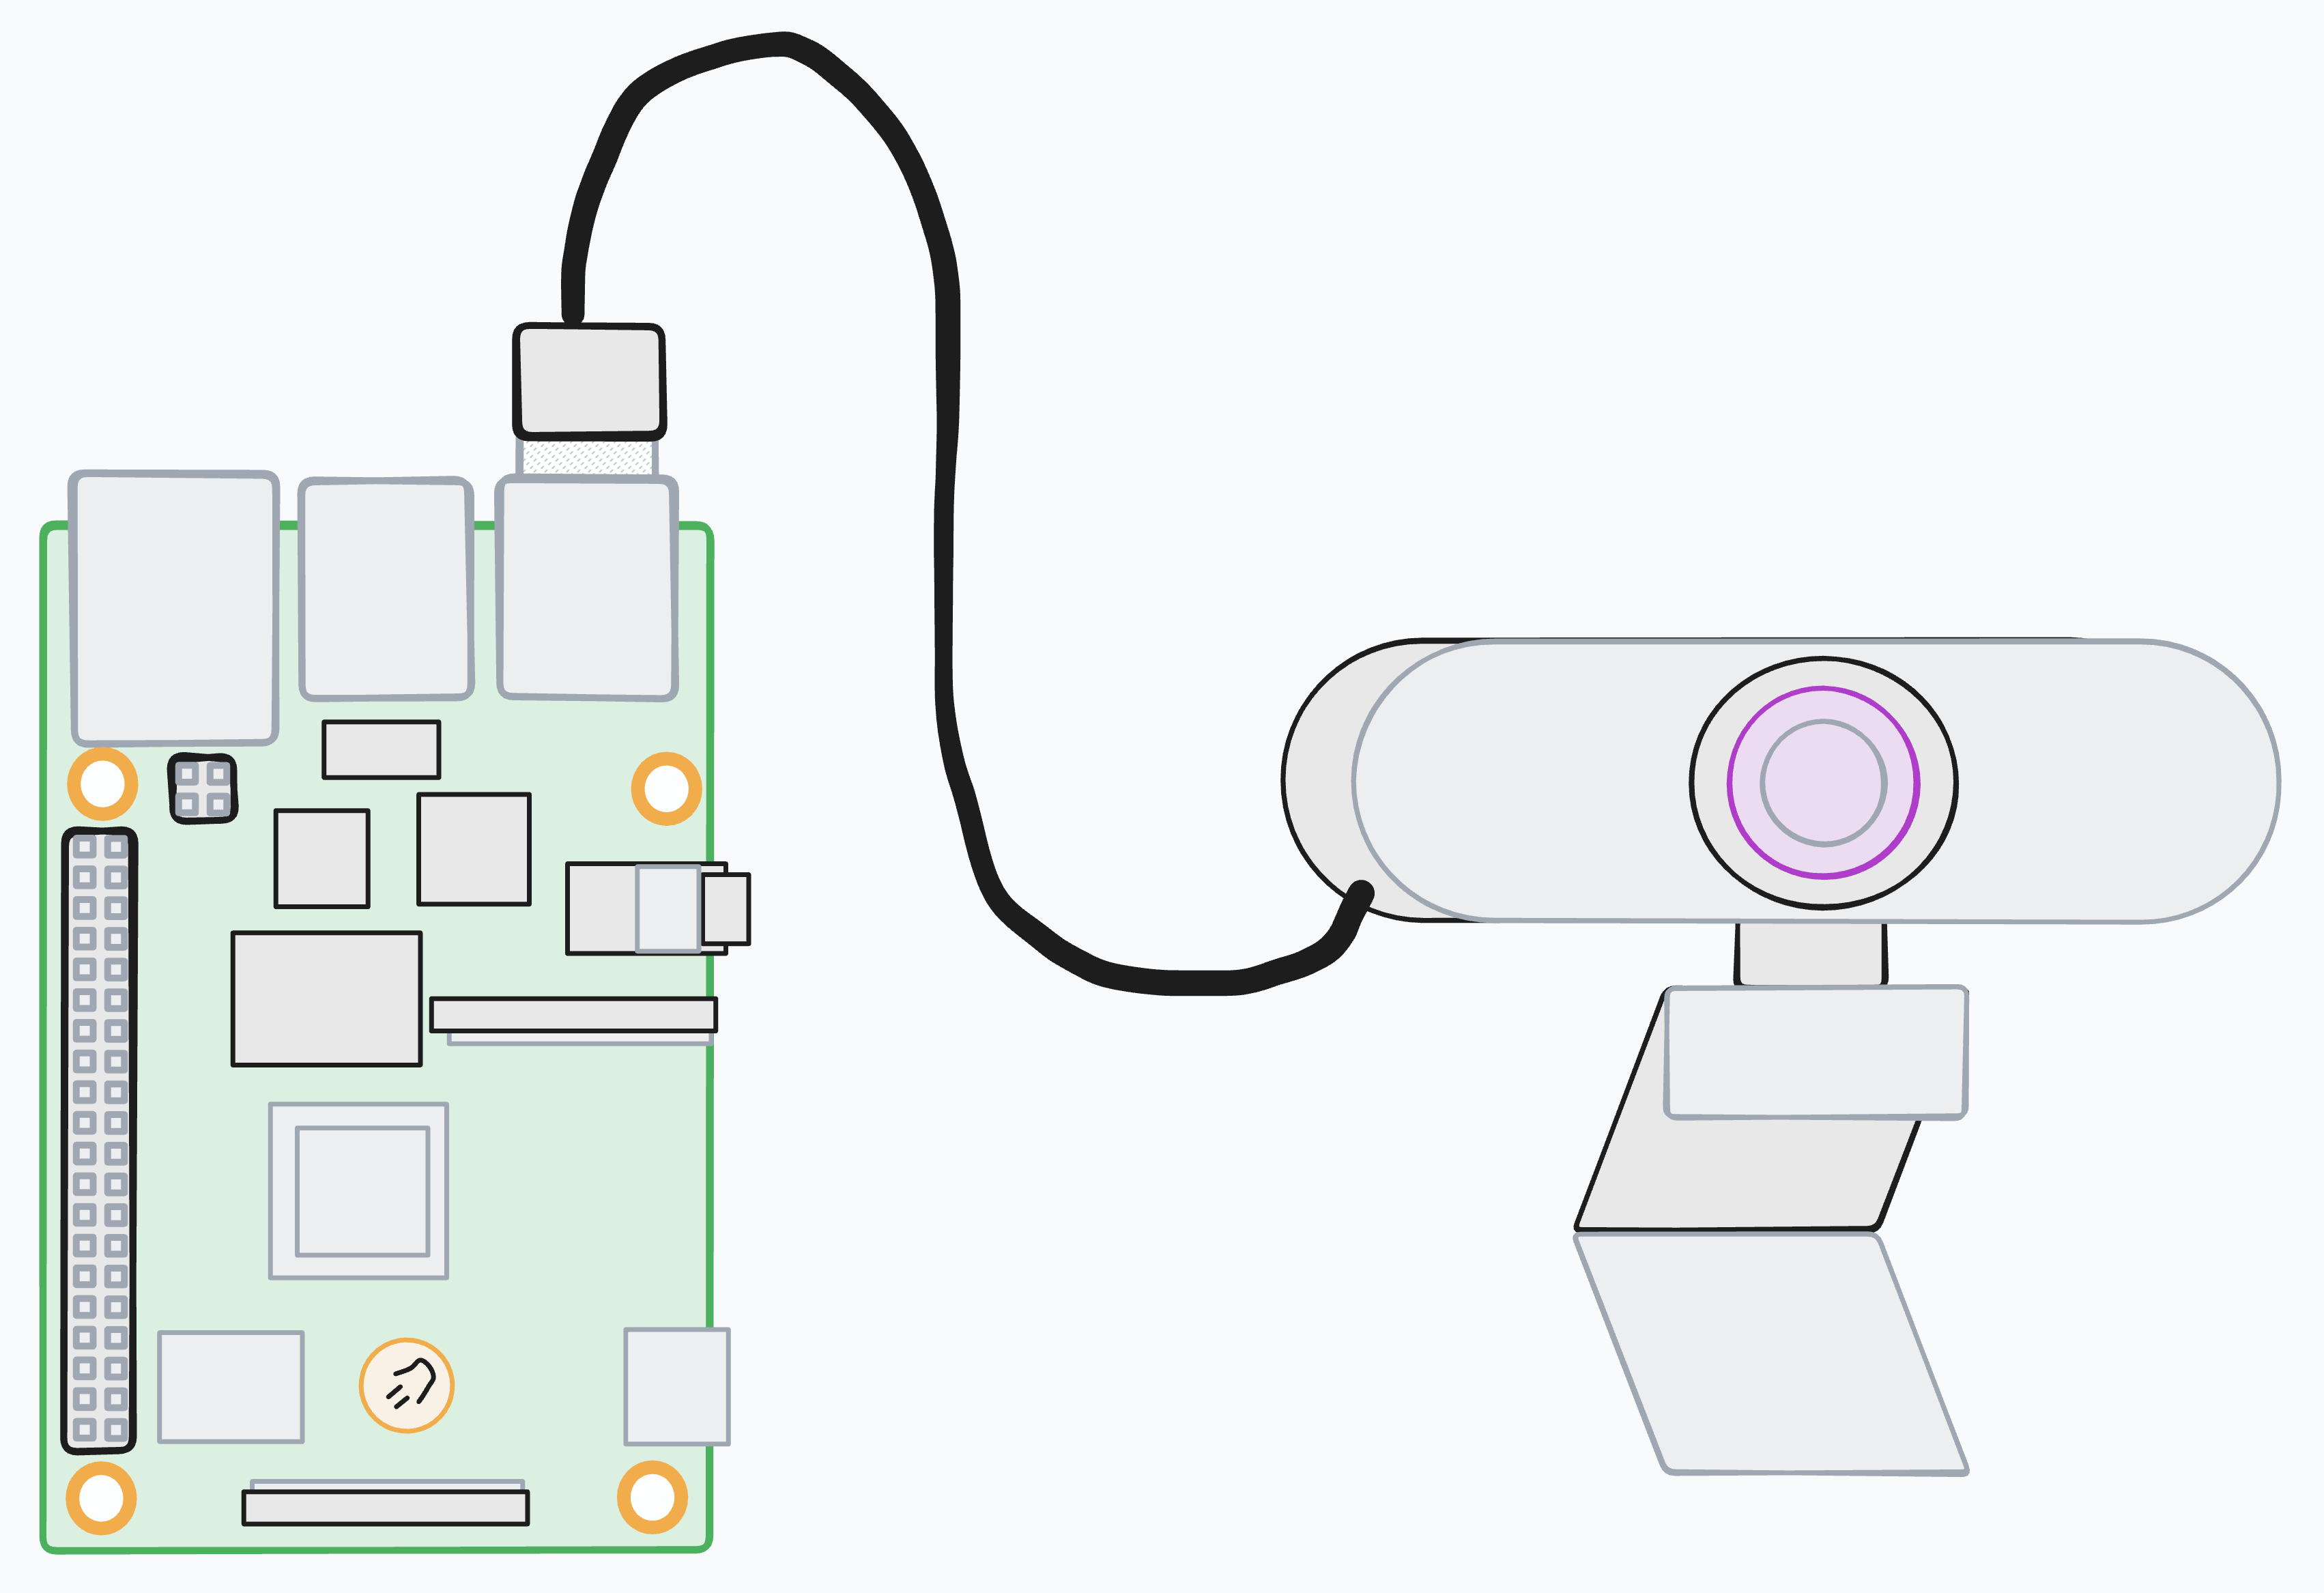
- Webcam (£40) - Relatively cheap 1080p USB Webcam, I've linked to the one I used because it's nice to mount but I already had this one lying around and I suspect you can find one going spare at work or elsewhere if you're on a budget.
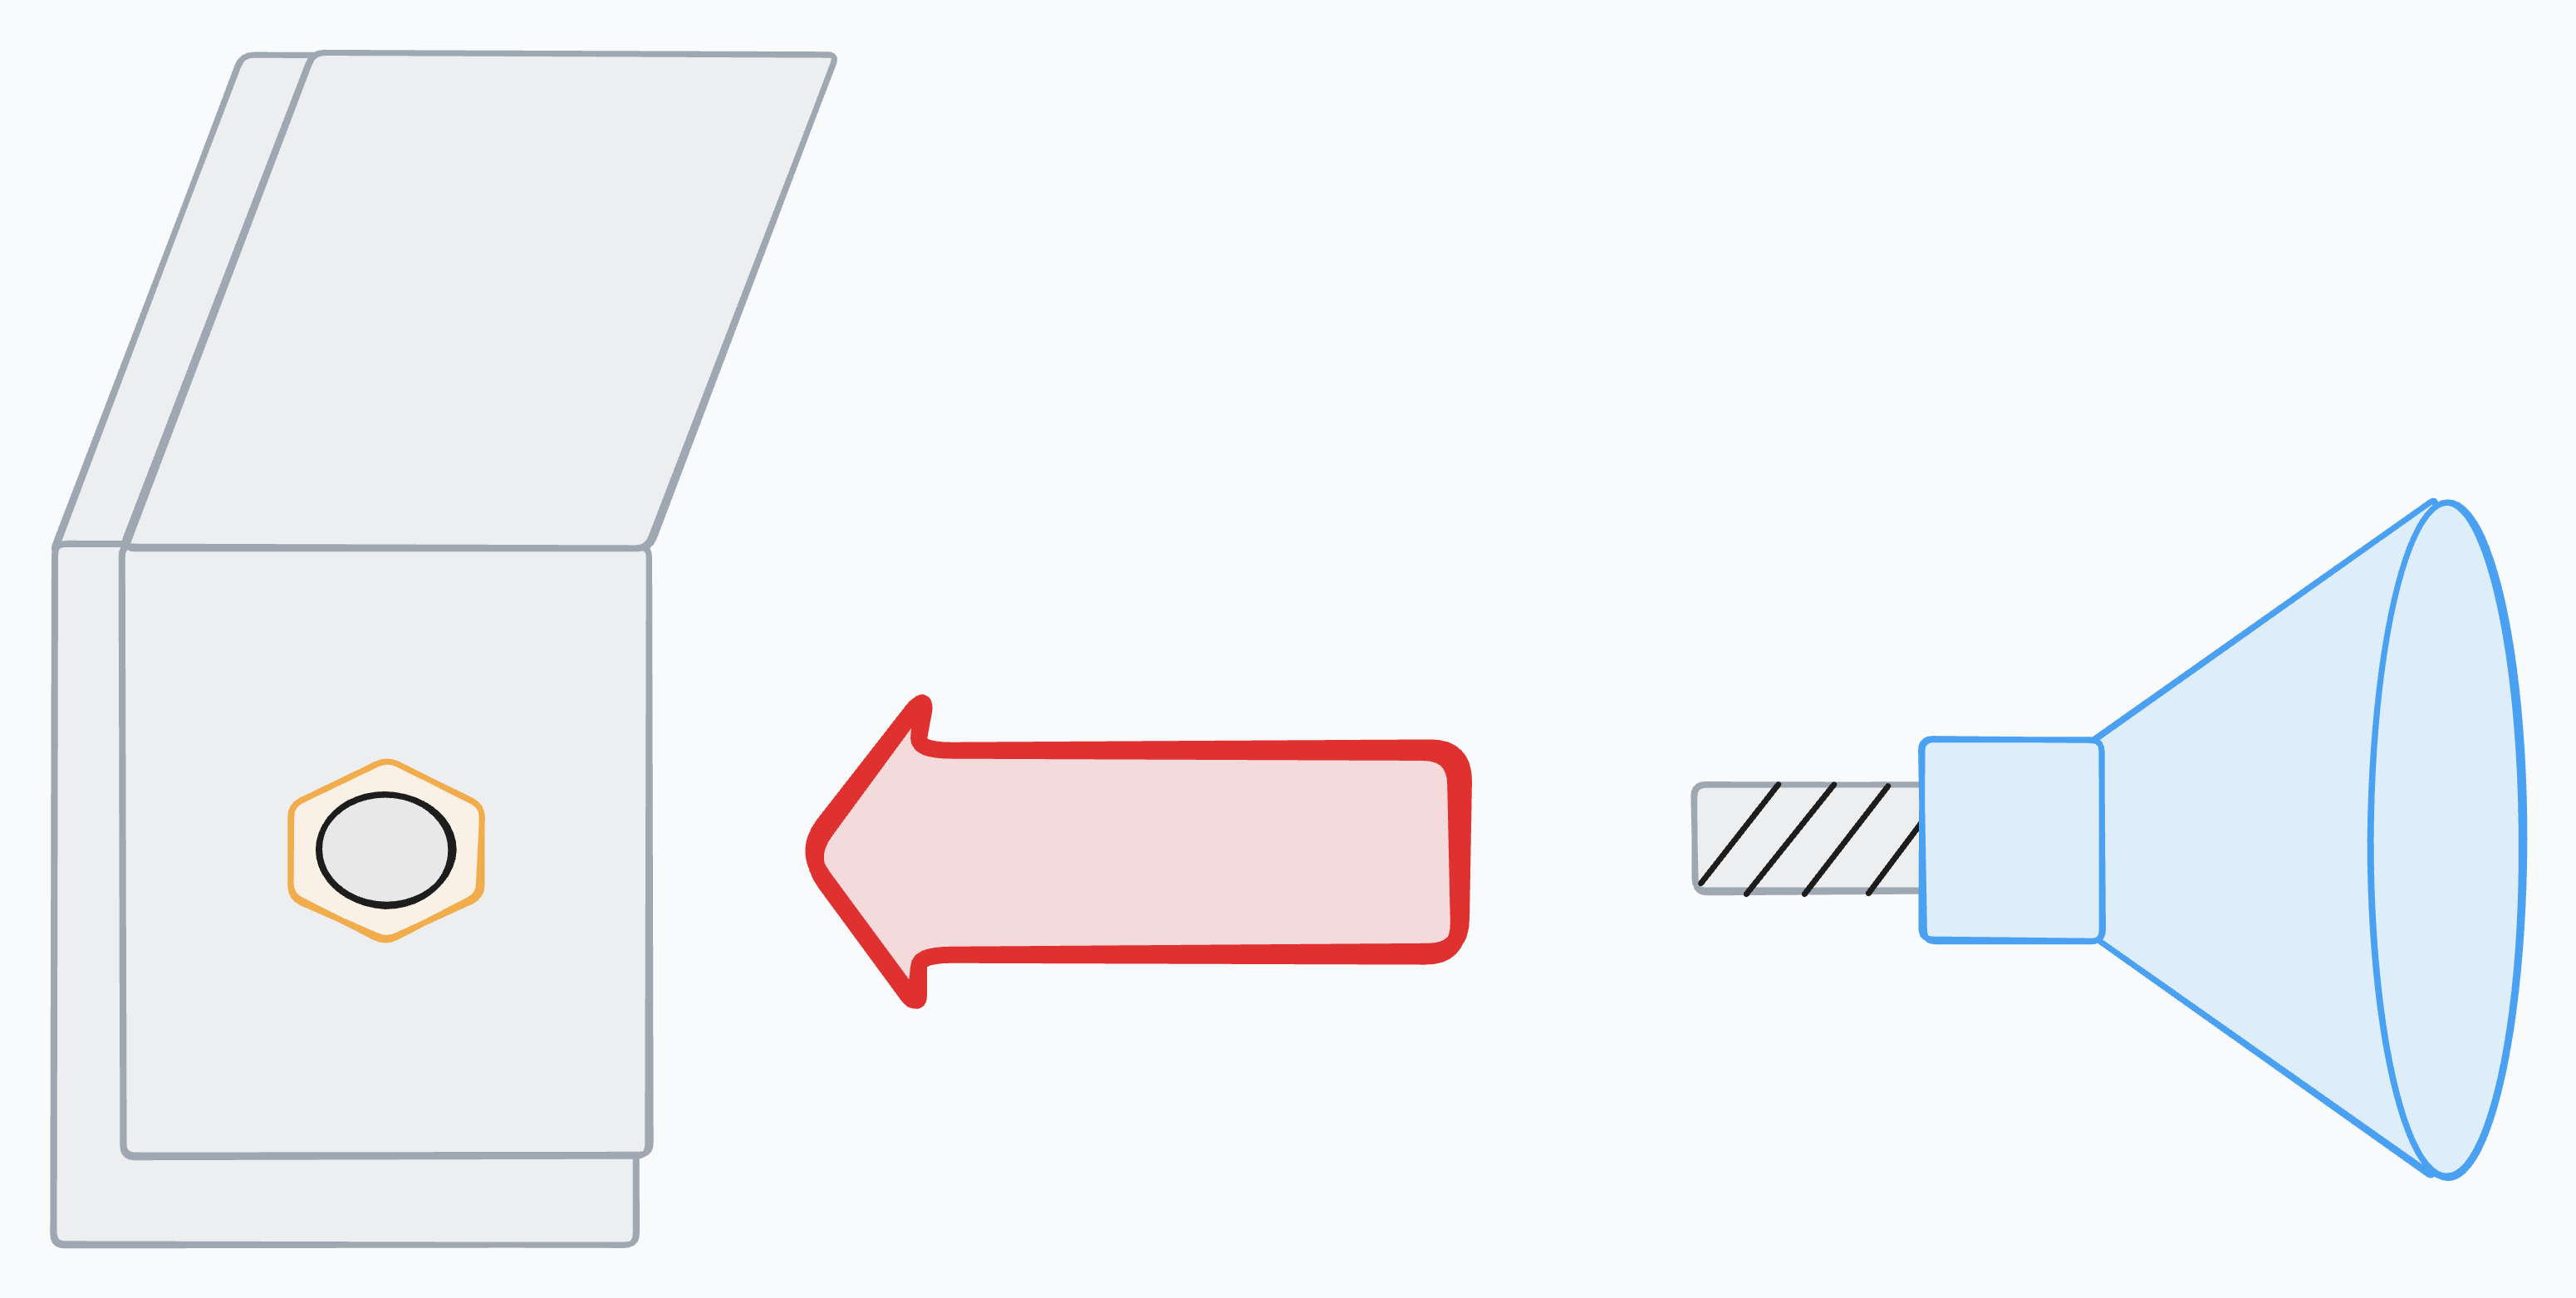
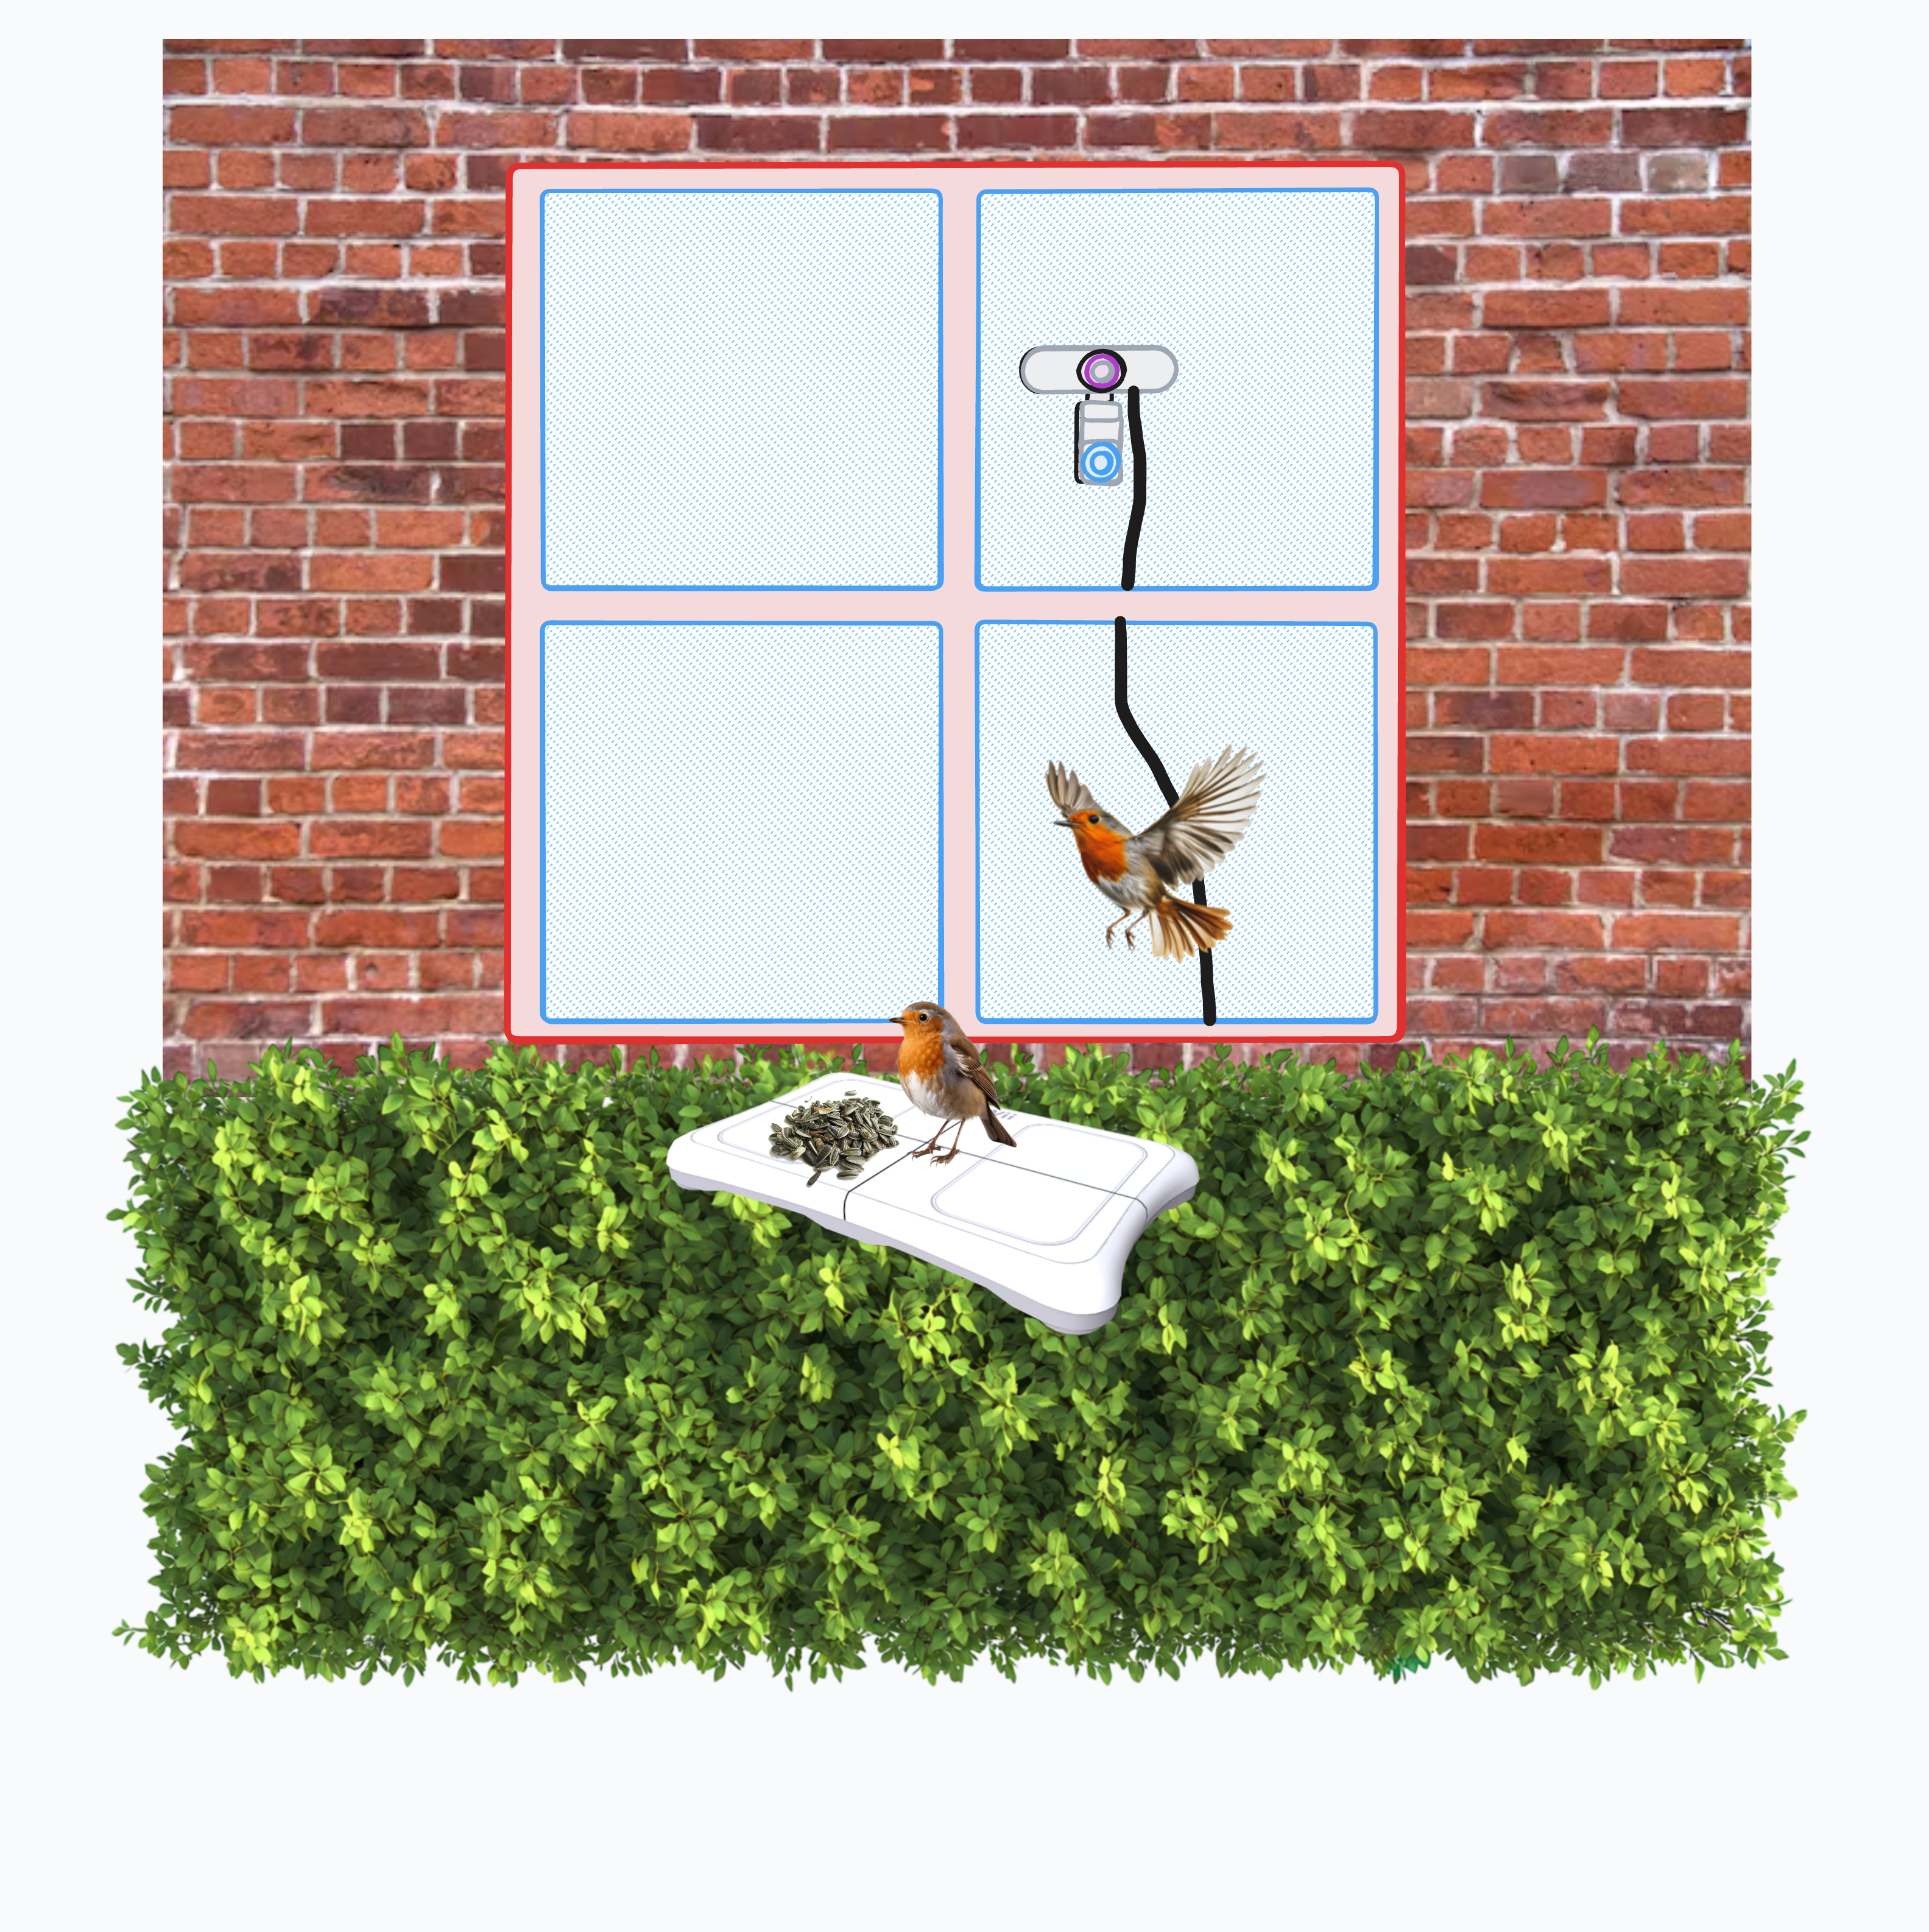
- Suction cups (£7) - These make it really easy to stick your webcam to a window for simple mounting and adjustment. The threaded bolt part fits into the standard ISO insert in the webcam above.
- Micro USB Power Supply (£15) - make sure to pick a reliable power supply that consistently delivers 5V/2.5A, I've linked to the official power supply here but almost any half decent Micro USB power supply will do.
- Optional: window mounted bird feeder (£30) - This is the bird feeder I used, having it mount on a window makes it much easier to get clear pictures by sticking your webcam on the other side of the glass.
Setup
- Flash your SD card and setup your Raspberry Pi. For instructions on how to do this properly check out this guide on the Raspberry Pi website. Connect your webcam to a USB port on your Raspberry Pi.
- Screw one of the suction cups into the threaded insert in your webcam - this will make it easy to position and adjust your webcam in your window.
- Stick your webcam somewhere with a good view of your bird feeder, the closer the lens is to the glass the less glare you'll have in your images. Camera positioning is crucial for accurate bird identification:
- Position the camera as close as you can to bird feeder. If the camera is too far away details can become unclear for classification.
- Natural daylight works best. Avoid positioning the camera where it captures direct sunlight or creates harsh shadows on the feeder. North-facing windows often provide the most consistent lighting throughout the day.
- A simple, uncluttered background helps the model focus on the bird. If your view is busy with garden furniture or complex foliage, consider adding a plain backdrop behind your feeder.
- Most webcams have fixed focus, so test your setup by taking a few photos of objects placed where birds typically perch. Adjust the camera distance until birds in the center of the frame appear sharp.
- Position the camera to capture birds from the side rather than head-on or from behind - side profiles show the most distinguishing features like breast markings, wing patterns, and body shape.
Remember that the model was trained on a variety of lighting conditions and angles, so don't worry about getting perfect shots every time - even a blurry Robin in motion can classify correctly!
- Now that we've got a nice little bird photo-booth set up we can start taking some pictures (if you're following along from part 1 you can update your code to take a photo when a bird is detected see my source code on GitHub for reference), lets install OpenCV for capturing and processing pictures from the webcam.
python3 -m pip install opencv-python-headless==4.8.1.78
- Create a new script called
take_picture.pywith the following Python code:
import os
import time
from datetime import datetime
import sys
import cv2

def take_photo():
    """Take a photo when a bird lands"""
    cap = cv2.VideoCapture(0)
    if cap.isOpened():
        # Let camera adjust
        for i in range(5):
            ret, frame = cap.read()
        ret, frame = cap.read()
        if ret:
            timestamp = datetime.now().strftime("%Y%m%d_%H%M%S")
            filename = f"bird_{timestamp}.jpg"
            cv2.imwrite("./images/"+filename, frame)
            print(f"📸 Photo: {filename}")
        cap.release()

take_photo()
This script will take a picture and save it to the images directory, lets create that dir now and test our script out.
mkdir images
python take_picture.py
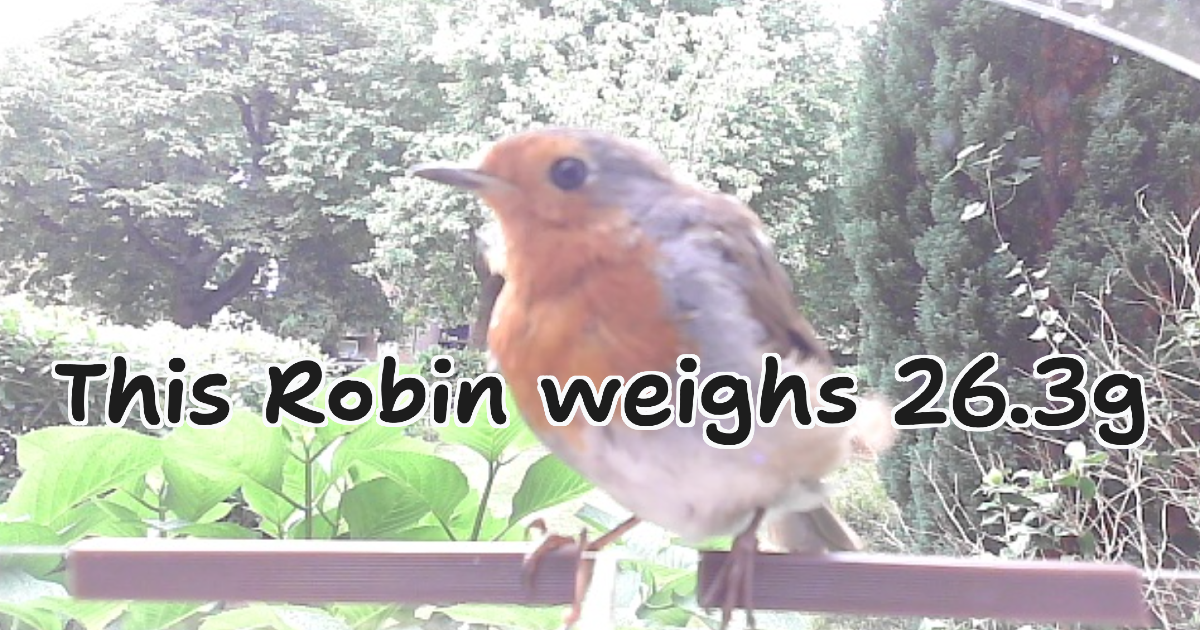
You should end up with a picture like the example below in the images dir (for those following on from part 1 your images will also include the weight measured when the photo was taken).
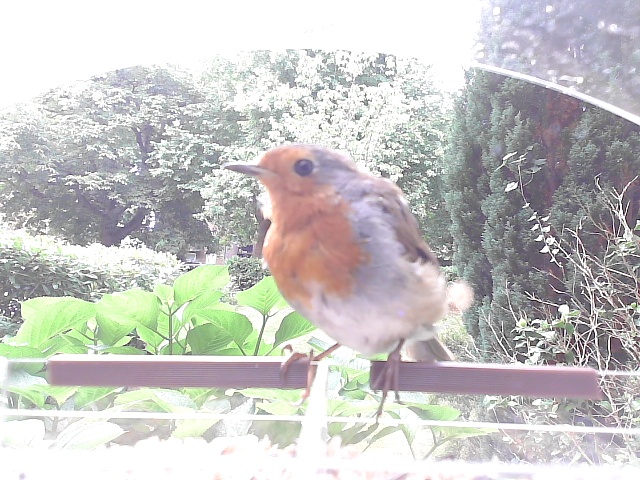
images/bird_20250801_120750.jpg
- Now that we have an image of a bird we can use a classifier model to predict the species of the bird in the image.
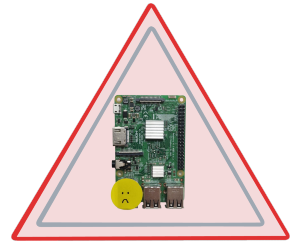
It is unlikely that your Raspberry Pi will be able to run the model due to how computationally intensive it can be to run - I suggest copying your images dir from the previous step to your laptop or more powerful computer! I tried running the model on my Raspberry Pi on a hot day and it got so hot it was permanently damaged, by default the Pi has no active cooling unlike your PC or laptop so this can be surprisingly easy to do.
For this we'll use the pre-trained uk garden birds model from secretbatcave. Download the saved model (the .pb stands for ProtoBuff format) and the classes with:
mkdir models
curl -o models/ukGardenModel.pb https://raw.githubusercontent.com/secretbatcave/Uk-Bird-Classifier/master/models/ukGardenModel.pb
curl -o models/ukGardenModel_labels.txt https://raw.githubusercontent.com/secretbatcave/Uk-Bird-Classifier/master/models/ukGardenModel_labels.txt
- Install tensorflow and its dependencies. Tensorflow is a software library for machine learning that was used to produce the model we're working with here, we'll use it now to run the model to make a bird species prediction.
pip install tensorflow "numpy<2" protobuf==5.28.3
- Create a new Python script called
identify_bird.pywith the following Python code:
import os
import sys
import numpy as np
import tensorflow.compat.v1 as tf
tf.disable_v2_behavior()

# Suppress warnings
os.environ['TF_CPP_MIN_LOG_LEVEL'] = '2'
tf.disable_v2_behavior()

# Load model
with tf.io.gfile.GFile('models/ukGardenModel.pb', 'rb') as f:
    graph_def = tf.GraphDef()
    graph_def.ParseFromString(f.read())
    tf.import_graph_def(graph_def, name='')

# Load labels
with open('models/ukGardenModel_labels.txt', 'r') as f:
    labels = [line.strip() for line in f.readlines()]

# Read image
image_path = sys.argv[1]
with open(image_path, 'rb') as f:
    image_data = f.read()

# Run inference
with tf.Session() as sess:
    predictions = sess.run('final_result:0', {'DecodeJpeg/contents:0': image_data})
    bird_class = labels[np.argmax(predictions)]
    print(bird_class)
Note the use of tensorflow.compat.v1: this is an older model (from 7+ years ago) so we're using the version 1 compatibility module rather than tensorflow to ensure everything works correctly (this is also why we're using the "numpy<2" and protobuf==5.28.3 downgrades). There are better models out there but this one is lightweight, free to use, and does not require API access.
Lets try making a prediction with one of your photos to see if everything is working correctly:
python identify_bird.py images/bird_20250801_120750.jpg
You should see a result like:
WARNING:tensorflow:From /Users/hugh/test/.venv/lib/python3.13/site-packages/tensorflow/python/compat/v2_compat.py:98: disable_resource_variables (from tensorflow.python.ops.resource_variables_toggle) is deprecated and will be removed in a future version.
Instructions for updating:
non-resource variables are not supported in the long term
WARNING: All log messages before absl::InitializeLog() is called are written to STDERR
I0000 00:00:1754516598.102893 5536073 mlir_graph_optimization_pass.cc:437] MLIR V1 optimization pass is not enabled
robin
You should see a predicted bird species on the last line of the output.
Quick Troubleshooting
-
No module named 'cv2'or other OpenCV errors: Make sure you installed the headless version withpython3 -m pip install opencv-python-headless==4.8.1.78. The regular opencv-python package can cause issues on headless Raspberry Pi setups. -
Camera not found /
cannot open cameraerror: Check your camera is properly connected withlsusb, you should see your webcam listed.
hugh@bird:~/bird-kafka-demo $ lsusb
Bus 001 Device 004: ID 328f:003f EMEET HD Webcam eMeet C960
Bus 001 Device 003: ID 0424:ec00 Microchip Technology, Inc. (formerly SMSC) SMSC9512/9514 Fast Ethernet Adapter
Bus 001 Device 002: ID 0424:9514 Microchip Technology, Inc. (formerly SMSC) SMC9514 Hub
Bus 001 Device 001: ID 1d6b:0002 Linux Foundation 2.0 root hub
Try unplugging and reconnecting the USB cable or trying a different USB port. Some cameras need a moment to initialize after being plugged in. Check with the manufacturers website to see if your webcam requires any specific drivers to work with the Pi.
- Photos are too dark or too bright: Most USB webcams auto-adjust exposure, but this can take a few seconds. The script already captures 5 frames before taking the final photo to allow for this adjustment, but you might need to increase this number for your specific camera.
        for i in range(5): # Try increasing this value
            ret, frame = cap.read()
-
TensorFlow installation errors: The model requires specific versions. If you get import errors, try:
pip uninstall tensorflow numpy protobuffollowed bypip install tensorflow "numpy<2" protobuf==5.28.3. -
Incorrect classifications: The model works best with clear side-view shots of birds. Very small birds in the distance, birds partially obscured by feeder parts, or photos with multiple birds may give poor results. Try repositioning your camera for clearer shots. Double check the list of classes in
ukGardenModel_labels.txtto see if the bird species in your model is represented there at all, this model is great at spotting robins but it wasn't trained on images of Blue Tits so might label them incorrectly as a cat or a crow.
Conclusion and Next Steps
You now have two separate systems: one that detects and photographs birds (and weighs birds if you're following on from part 1), and another that identifies species. These systems can't run on the same hardware though because of the performance limitations of the Raspberry Pi and right now our workflow requires transferring the bird photos to our laptop periodically to run species identification. With this setup I now have some pictures of heavy robins but without storing and analyzing lots of examples of images of birds with species and weight labels I still can't answer my original question of: is this robin abnormally heavy?
In the third and final entry in this bird feeder series I'll use Kafka and Iceberg to bridge the gap between my laptop and the bird feeder, analyze all my collected data, and once and for all figure out just how heavy this Robin is.